
Lighting can make or break a 3D render. Whether you’re showcasing a product, rendering a character, or designing a portfolio piece, having a professional lighting setup is essential for achieving realistic results. In this guide, I’ll take you through a structured lighting setup in Blender that’s simple, effective, and highly customizable.
1. Creating a Guide for Measurement and Accuracy
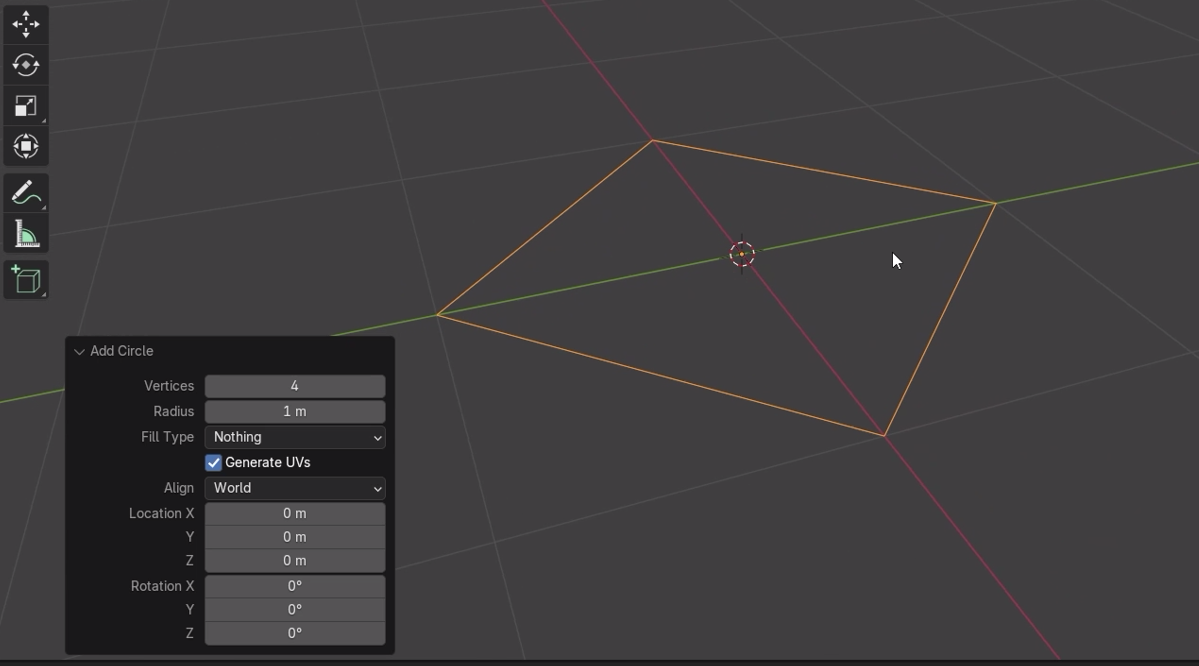
First, let’s start with a 4-vertex circle to act as a reference guide for our setup. The circle, by default, is 1 meter in diameter, which is an ideal measurement tool when designing within a consistent scale. By aligning objects and lights around this circle, you’ll have a structured, proportional setup that ensures everything fits neatly in place.
Why use a 1m guide circle?
Scaling our model and light sources within a 1-meter frame helps simulate how light behaves on smaller objects, bringing realism to the scene.
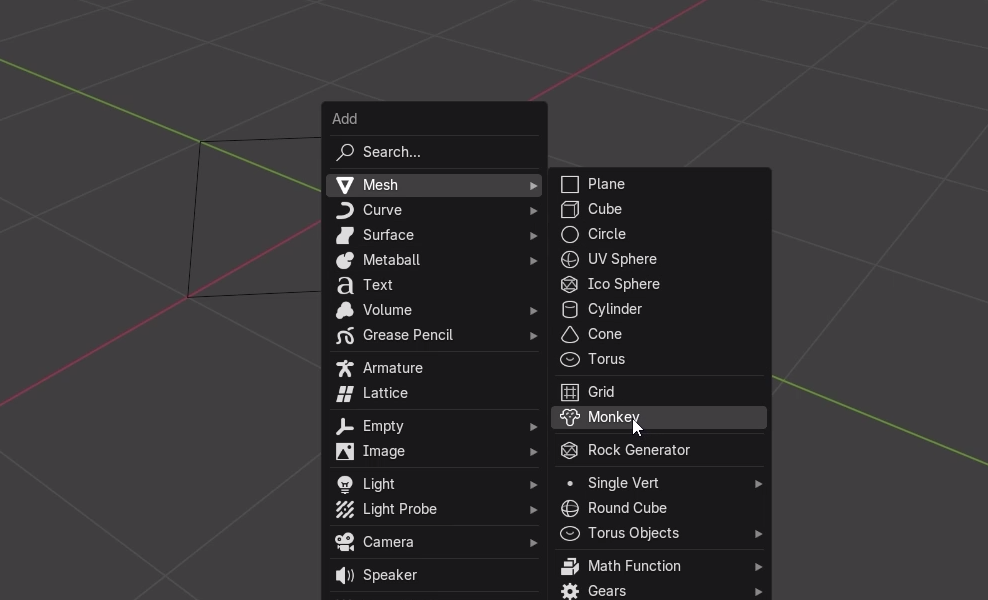
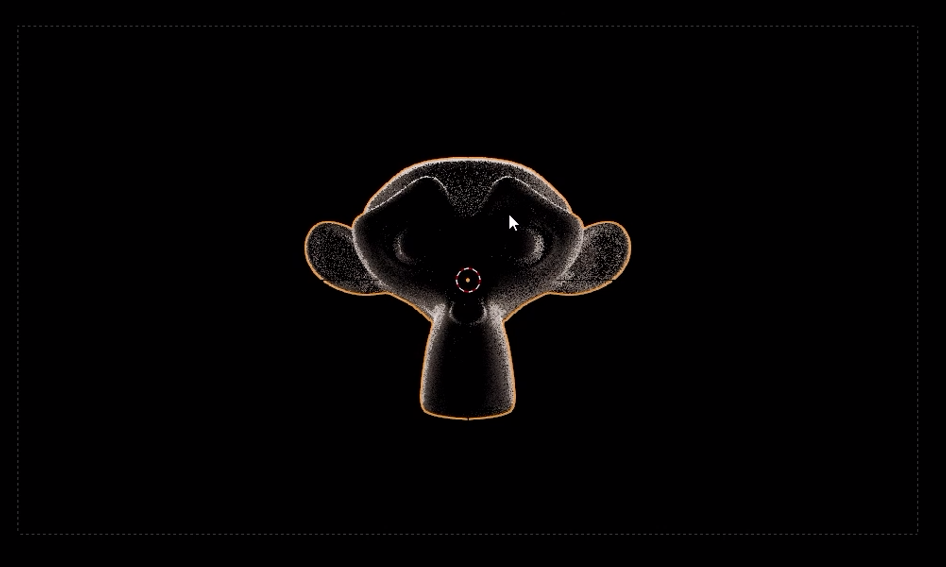
2. Adding and Scaling the Model
Let’s add Blender’s Suzanne (Monkey) model into the scene to demonstrate this lighting setup. Once you’ve added the monkey model, scale it down to 0.15. This brings it into proportion with the 1-meter circle, allowing the model to interact with light as a real object would in a similar setup.
3. Setting Up the Camera
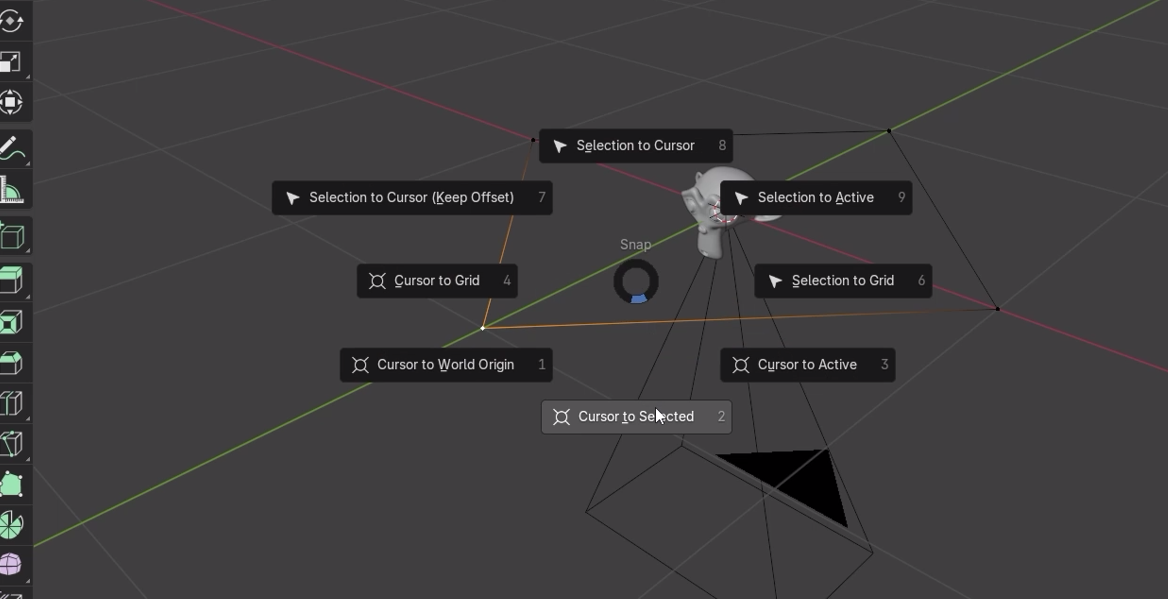
For precise camera positioning, add a Camera to the scene and reset its rotation by pressing Alt + R. Next, focus on selecting the front vertex of the guide circle (the one aligned with the monkey’s face) as the placement point for the camera. With the camera selected, use Shift + S and choose Snap Camera to Cursor.
Tip: Adjust your camera’s focal length and perspective settings to suit the final render. For a pro setup, use Perspective Mode and experiment with focal lengths around 50mm.
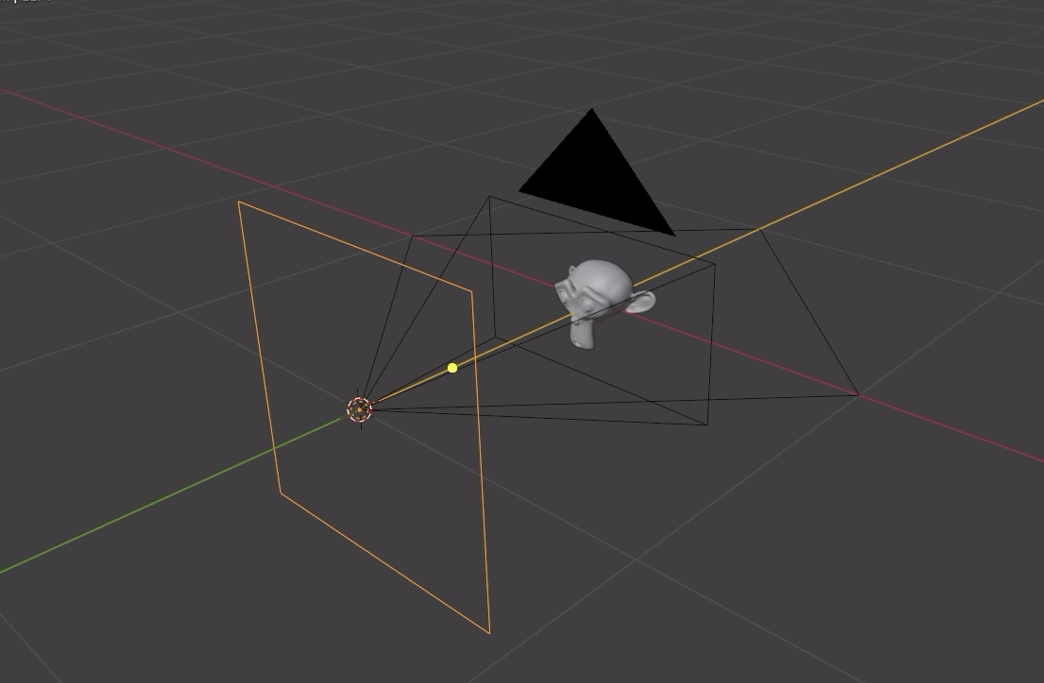
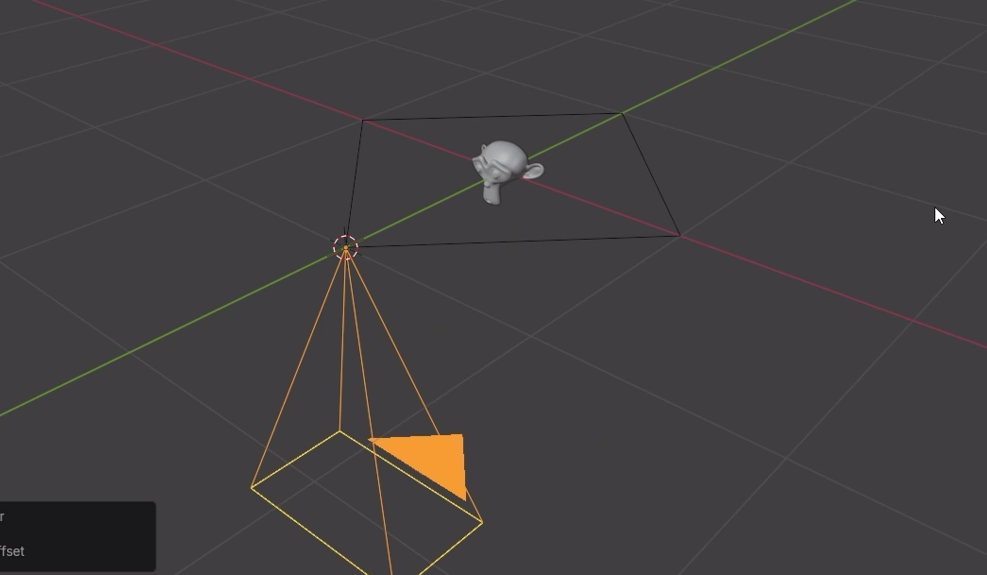
4. Positioning the First Light
Now that the camera is in place, it’s time to add lighting. With the 3D cursor still on the guide circle’s front vertex, add a Point Light. This first light will serve as a base for a balanced, three-point lighting setup, illuminating the model from the front while still allowing shadows and contrast to enhance the details.
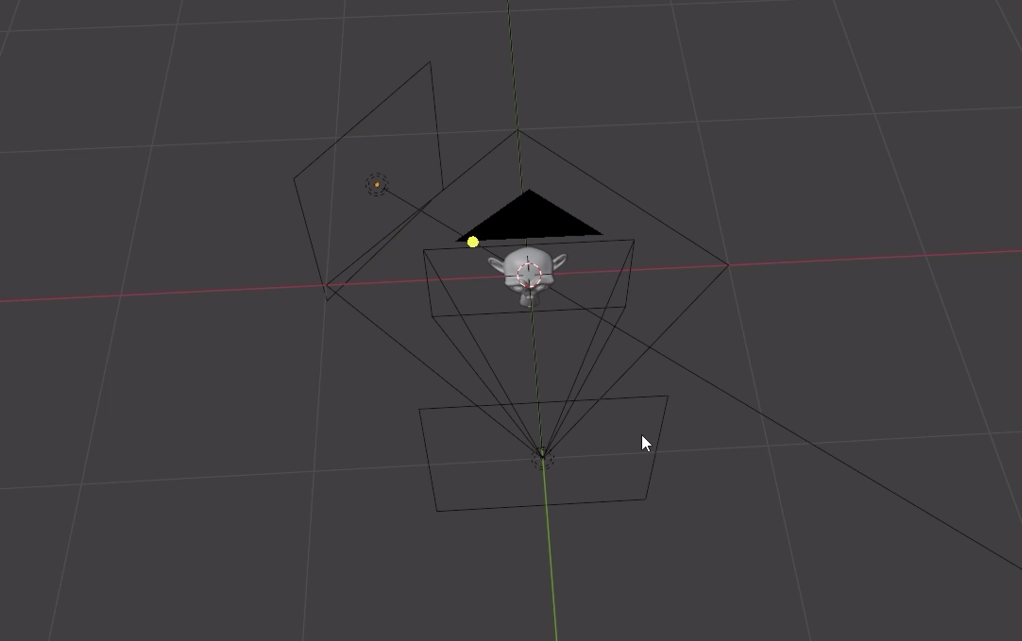
5. Creating the Three-Point Lighting Setup
The core of this lighting setup is achieved through duplicating and positioning lights at balanced angles around the model. Here’s how:
- Set the Pivot Point to the 3D Cursor: Changing the pivot point to the 3D cursor ensures that the duplicated lights remain aligned and evenly distributed around the guide circle.
- Second Light: Duplicate the first light, rotate it 230 degrees, and adjust the light’s color to a warmer tone, such as #FFE5D1. Set the power to 10W. This light will provide secondary illumination from a side angle, adding depth to the model’s contours.
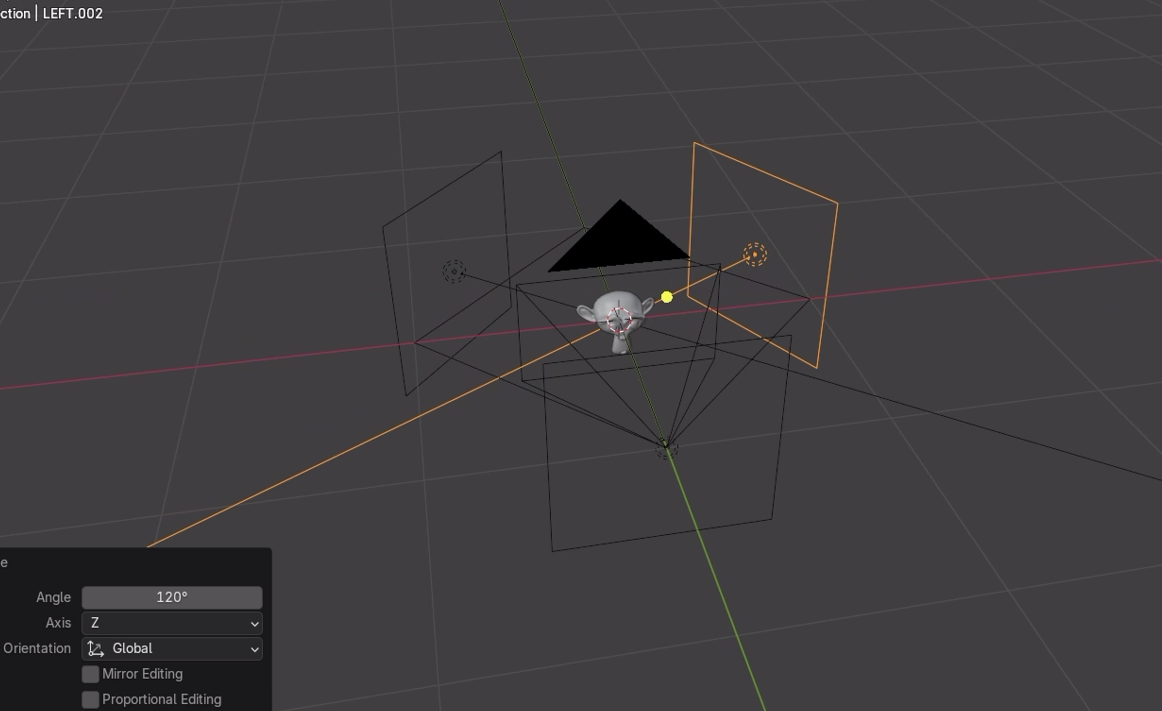
- Third Light: Duplicate again, rotating this light by 120-130 degrees. Apply the same warm color and 10W power setting to maintain consistent brightness. Together, these lights create an even illumination on all visible sides of the model.
- Final Adjustment on First Light: Return to the initial front-facing light and rotate it 180 degrees around the guide circle. For a slight height adjustment, rotate it on the X-axis by 20 degrees, creating subtle top illumination to add more depth to the monkey’s features.
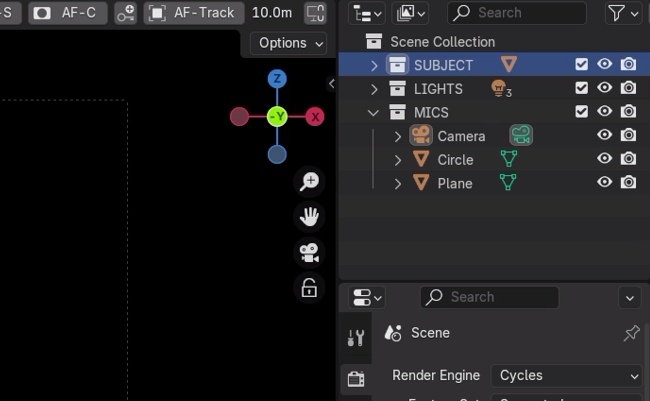
6. Organizing the Scene
A clean, organized scene is essential for professional workflow. Once your camera, lights, and model are positioned, select each element and press Ctrl + M to group them into a new collection. Name the collection (e.g., “Lighting Setup”), making it easy to revisit, adjust, or duplicate in future projects.
7. Rendering the Scene
With the lighting now fully set up, do a quick test render. This setup, with its careful positioning and warm light adjustments, should bring out rich textures, subtle shadows, and detailed highlights on your model.
Ready to take your renders further? Check out our resources below to download the full .blend file, get more in-depth Blender tips, and see examples of this lighting setup in action!
Here are all the resources, links, and tools you’ll need to enhance your Blender experience:
- Purchase the Full .blend File for this Lighting Setup: Download Now
Get access to the exact .blend file used in this tutorial, including the setup with all lights and models. - Connect with Me on LinkedIn: Connect Now
Stay updated with more tutorials, tips, and professional insights from the 3D world. - Explore My Projects on Behance: [Behance Portfolio Link]
Check out my portfolio for more inspiring 3D visualizations and renders. - Support Me on Patreon: Join Now
Get exclusive content, behind-the-scenes material, and more when you support my work on Patreon. - Follow Me on Instagram: Follow Me
See my latest renders and Blender tutorials on Instagram.